
This post is part 3 in a 3-part series of posts on how to extend the Sitecore Commerce Business Tools. The other parts are:
The Commerce Business Tools: How does it work?
The Commerce Business Tools: How to extend it?
So, what if I want more?
Extending and adding new entity views and adding actions is nice, but what if I want to do something more exciting? What if I want to offer the user a different way to input data?
Well, now we’re coming in uncharted territories and as you know, there be dragons…
But, we’re developers and not afraid of dragons. So let’s face some dragons…
When you install Sitecore Commerce you will notice that it consists of a large number of zips. Each zip represents a part of Sitecore Commerce. You have the Commerce SDK, Identity Server, the SXA components for Storefront, two zips with images and some packages that deal with Sitecore Commerce Connect.
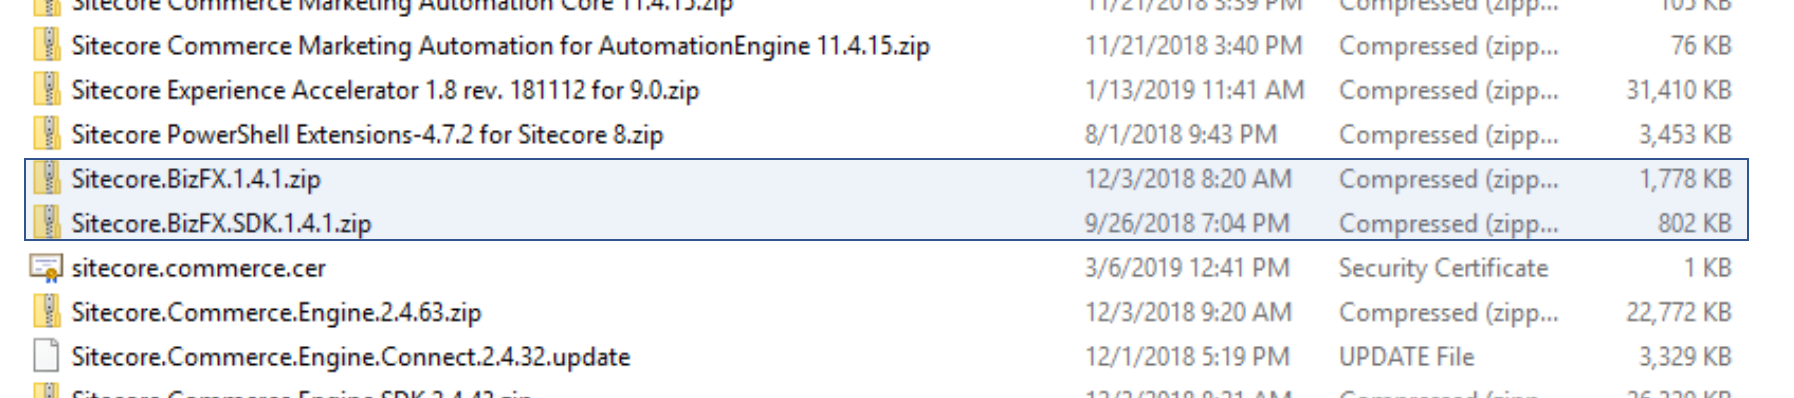
There are also two packages that start with Sitecore.BizFx. One of them ends with SDK. Software Development Kit.
Now, for a developer something ending with SDK sounds intriguing and exciting. Because an SDK should mean that it is something you can build upon, something you can extend.
When you install Sitecore Commerce, the zip that contains the Business Tools SDK is not used, it’s just that other zip that gets installed into an IIS site and a button is added to the dashboard so you can access them.
The zip with the SDK is not touched during installation, so it remains a bit of a mystery. If you look through the documentation there is also not too much information on what is in the zip.
But…there is a README
The SDK contains everything you need to build the Business tools yourself. If you follow the README (and you need to follow the instructions, otherwise it won’t work) you will have it all up and running in no time.
You need to:
- Unzip the SDK into a folder;
- Run:
npm install speak-ng-bcl-0.8.0.tgznpm install speak-styling-0.9.0-r00078.tgznpm install @sitecore/bizfx
- Run:
npm install
Once you have done all this you do:
ng serve
Wait a little and you will have an instance running of the Business Tools. It will listen on port 4200 so don’t forget to stop the IIS site running on the same port.
The nice thing is now that you can just start changing or adding stuff and it will automatically recompile which makes developing very easy.

The business tools use Angular. Angular is an application framework, much like React or VUE that helps you create applications that run in a browser. The latest versions of Angular use Typescript instead of Javascript for developing.
I don’t know too much about Angular and I am also not a Javascript or Typescript expert. Whenever I am in a situation like this I use a highly scientific method of developing where I basically throw code at the wall and see what sticks.
The source code of the business tools look quite simple:
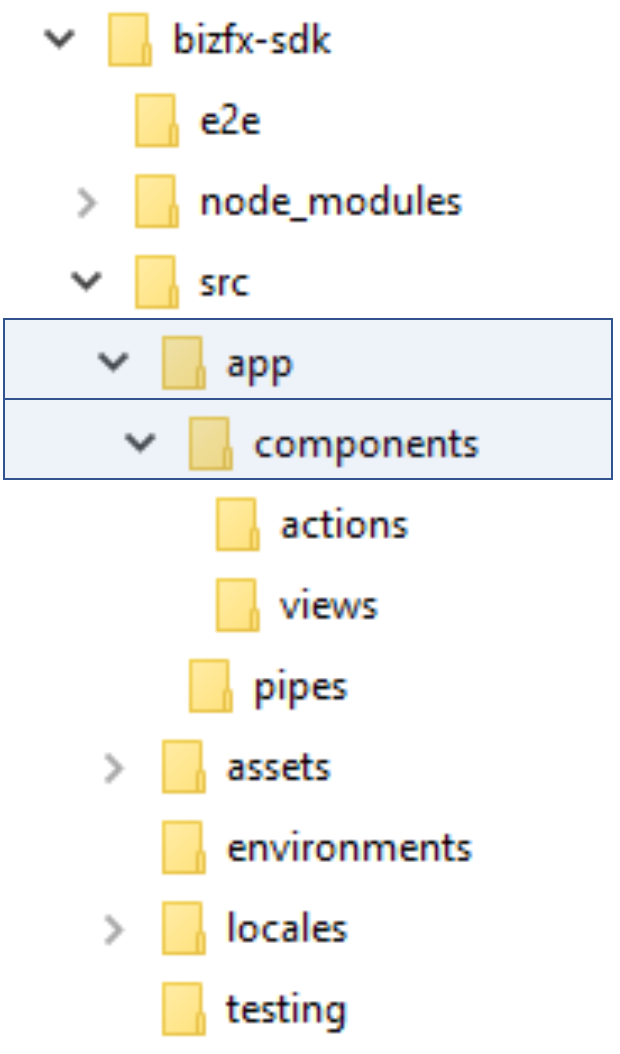
Every Angular application has an app folder which is where you do most of your development work.
The app folder contains a components folder. Components are an important part of Angular:
“A component controls a patch of screen called a view.”
A component is the way to display things in the browser.
The components folder in the business tools contains two subfolders: actions and views.
Let’s start with the views folder, as it contains the components to render the different views. As you may remember, when creating an EntityView you can specify a UIHint. Examples of these UIHints are TableView, ListView or FlatView.
The UIHint determines which one of these components is rendered.
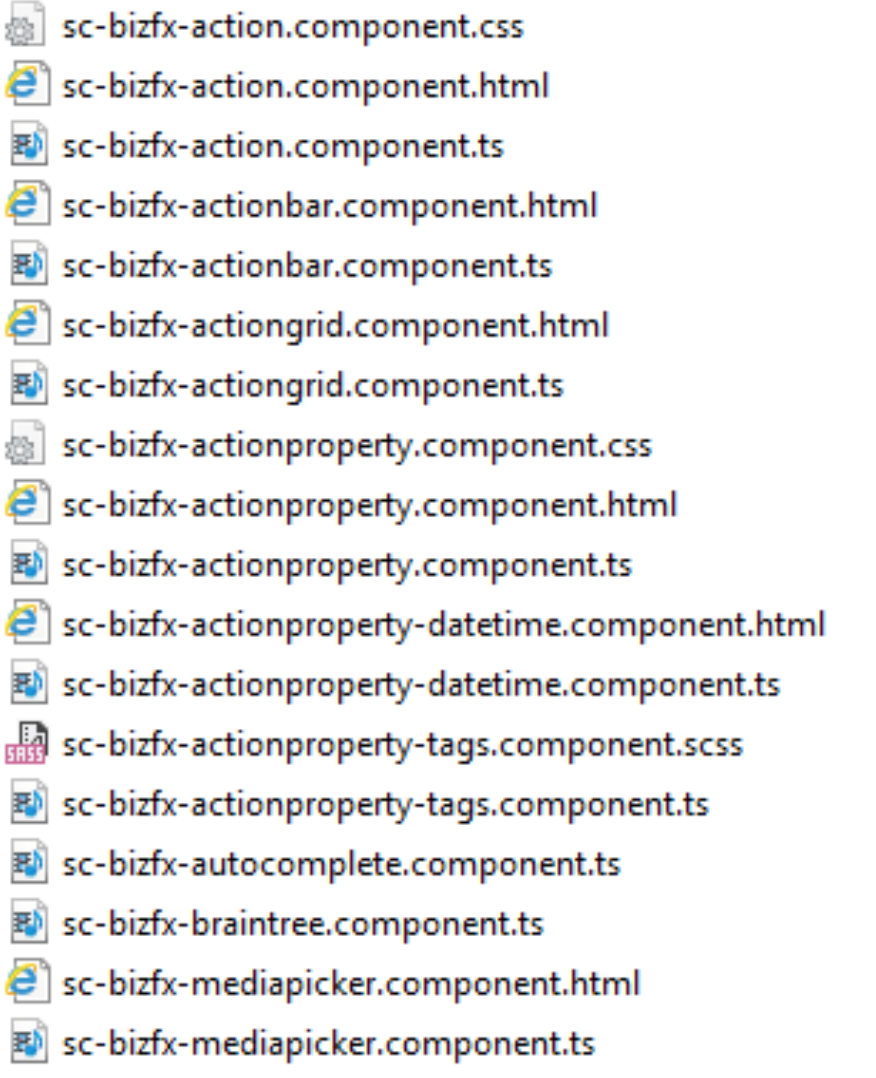
The actions folder contains the components to render things like edit boxes, a date-time editor, a media picker etc. So this is the place where you will find components that deal with editing data.
This is also where we will concentrate our efforts to extend the business tools. As an example I wanted to add a component that allows you to add tags, but with a better UI than the standard tag editor.
Now of course, I am not going to create this component myself, but rather use the power of the internet to find me a prebuild component.
After some searching I found a component called Selectize.js (https://selectize.github.io/selectize.js/) which fitted what I wanted to do. You can supply a list of items that can be used in a dropdown and it allows multi-select.
If you are using a framework like Angular you cannot just add the javascript to an HTML page and expect it to work. If you want it to work you will need to provide some plumbing around it.
Luckily there is a cornucopia of packages available for Angular for all kinds of components so a little Google search brought up a Angularized version of Selectize called ng-selectize (https://www.npmjs.com/package/ng-selectize).
I followed the instructions to add the component to angular which involves:
Installing it using npm:
npm i --save ng-selectize jquery selectize
Adding references to stylesheets to the file .angular-cli.json;
"../node_modules/selectize/dist/css/selectize.css",
"../node_modules/selectize/dist/css/selectize.{your chosen theme}.css"
Adding references to scripts to that same file
"../node_modules/jquery/dist/jquery.min.js",
"../node_modules/ng-selectize/selectize/selectize.standalone.js"
And importing the component as a module by adding the following lines to app.module.ts:
import {NgSelectizeModule} from 'ng-selectize';
imports: [..., NgSelectizeModule, ...],
Now you can add a new component. You do this with an Angular command line generator:
ng generate component selectize
In this line, selectize is the name of the component I want to generate.
This will create a folder called selectize in the apps folder and creates all the plumbing you need for the new component. It will also automatically add the component to app.module.ts so you are all set to start using your component.
A component in Angular consists of:
- A stylesheet;
- An HTML template;
- A specification file you can use for testing the component;
- A “code-behind” file that contains the logic behind the template;
Now we need some place to add the new component to the existing business tools.
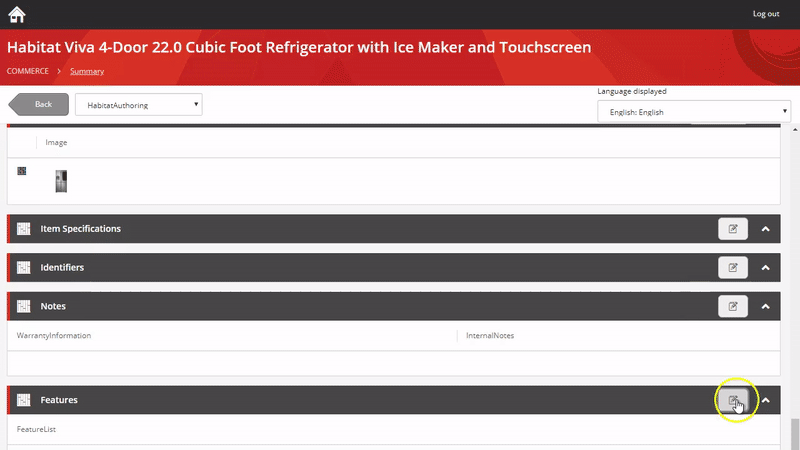
Remember that the business tools are data-driven and we want our new component to display when a user edits a sellable item. We can specify how a property on a sellable item should be rendered by setting the UIType property of the ViewProperty to true.
In the commerce engine code we change the creation of the EntityView so that the UIType is set to Selectize:
targetView.Properties.Add(new ViewProperty
{
    Name = nameof(FeaturesComponent.FeatureList),
    RawValue = component.FeatureList?.ToArray<string>(),
    IsReadOnly = !isEditView,
    IsRequired = true,
    UiType = isEditView ? "Selectize" : "Tags",
    Policies = new List<Policy> { selectizeConfig },
    OriginalType = "List"
});
Note that we only use Selectize when the view is in edit mode, otherwise we use a standard way of rendering called Tags.
What did we do up till now?
- We unpacked the Business Tools SDK;
- Installed a number of npm packages;
- We have created a new component called Selectize;
- We have changed the plugin that creates the views to edit the component to use Selectize as the UIHint;
But when we go to the Business tools now, we don’t see any changes. The Features field is still rendered as a text box.
Apparently, just supplying a UIType with the name of the component, does not automatically mean it will use the component.
So, how do we render the component? For that I looked into the source code of the Business Tool and I found the answer in file with the name: sc-bizfx-actionproperty.component.html
This is a template for a component and it is used to render a property on an edit form. This component is rendered for each property that is in the view.
If you look at the code it starts with the following HTML:
<div *ngIf="property && !property.IsHidden">

  <div [formGroup]="actionForm" class="action-property-container">

    <div [ngSwitch]="property.UiType">

      <div *ngSwitchCase="'Autocomplete'">
        <label for="property-{{property.Name}}">{{property.DisplayName}}</label>
        <sc-bizfx-autocomplete [property]="property"></sc-bizfx-autocomplete>
      </div>
As you can see, the last line starts a switch statement in the Angular template which is based on the UIType property.
It then contains a case for each UIType it can render. In the example above you see how it renders a property for which the UIType is Autocomplete and it also contains a case for each type it knows how to render.
Apparently this is the place to add our new selectize component.
So what I did is add a ngSwitchCase
      <div *ngSwitchCase="'DownloadCsv'">
        <button scIconButton="secondary" id="download-action" type="button" (click)="downloadCsv()">
          <sc-icon icon="download" size="small"></sc-icon>
        </button>
      </div>

      <div *ngSwitchCase="'Selectize'">
        <app-selectize></app-selectize>
      </div>

      <div *ngSwitchDefault>

        <div [ngSwitch]="property.OriginalType">
I added my Selectize case just before the ngSwitchDefault statement. ngSwitchDefault is used when the UIType is not caught by any of the ngSwitchCase statements. It then looks at the OriginalType property to see how it should render the property.
So, I refresh the browser and see what the result is
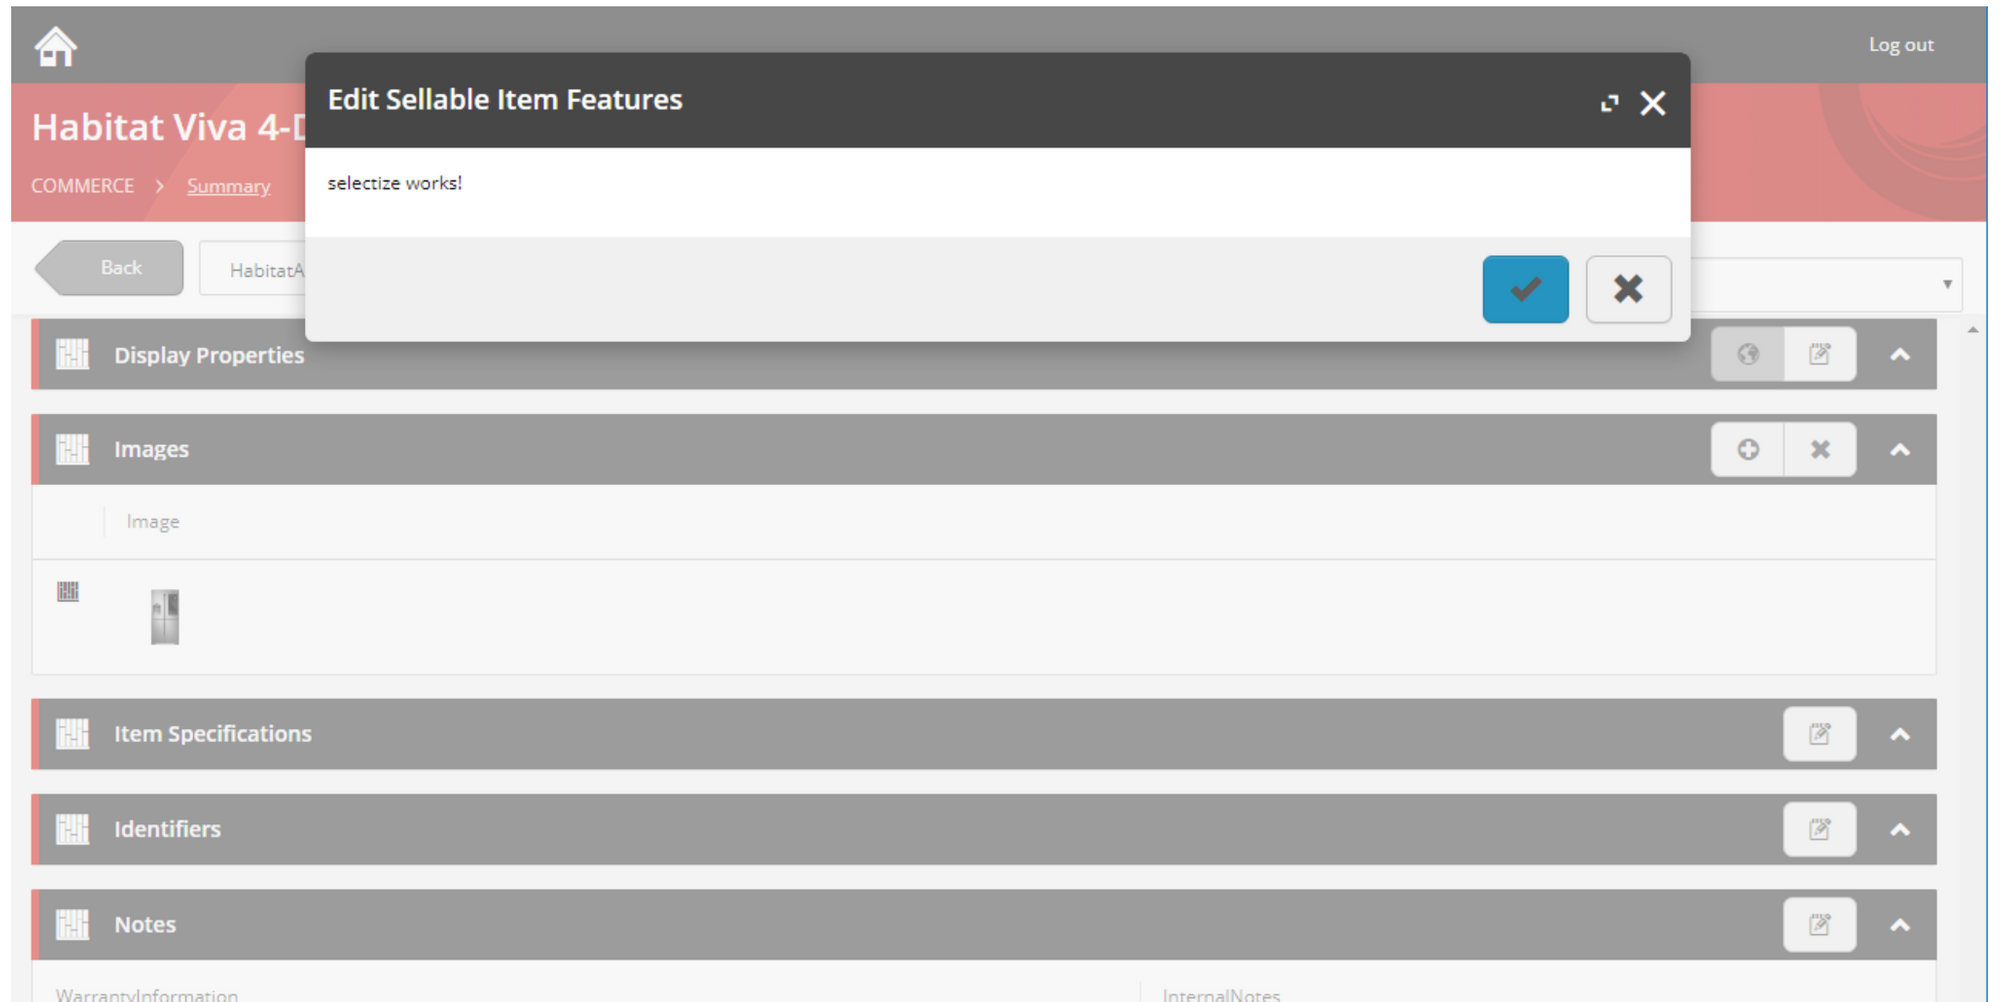
Ok, I have a result!
Now what I want to do is show my selectize component. I change the template to use my component:
<ng-selectize></ng-selectize>
I refresh the browser and edit the Features component and now I see this:
Victory! My new component is visible, but of course it doesn’t do anything yet.
So, how do I hook this up?
Looking at the documentation for the Selectize component I can supply a configuration object and I can supply the options the user can select from.
<ng-selectize [config]="..." [options] = "..."
[placeholder] = "..."  {other-attributes}></ng-selectize>
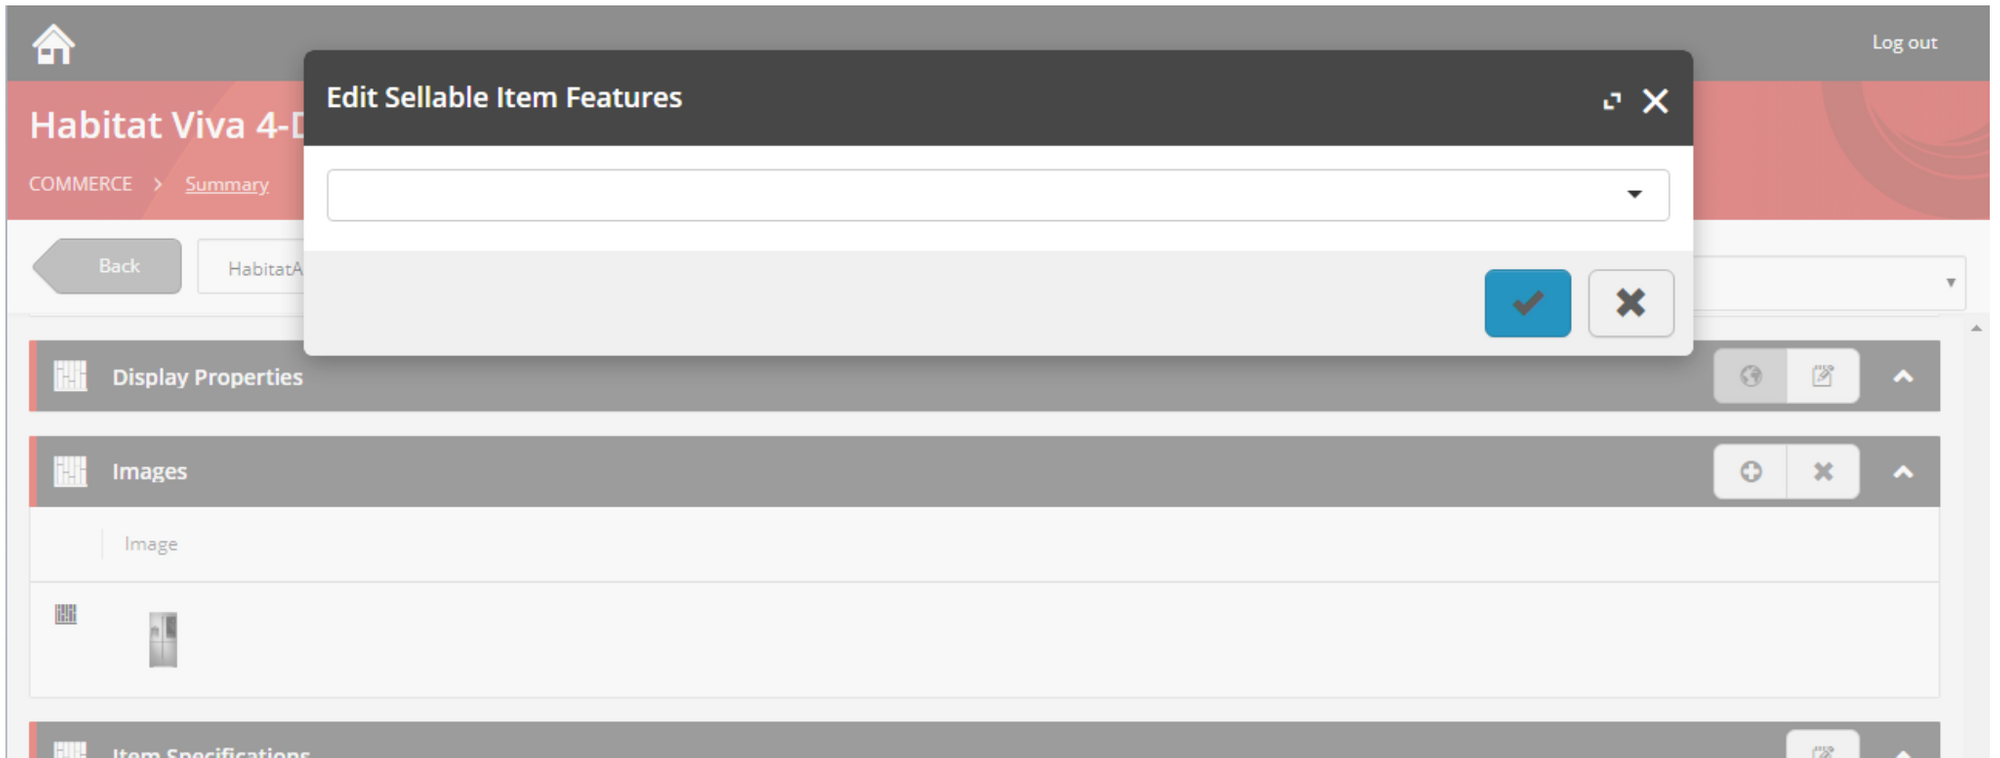
So first, let’s see if we can get that to work by supplying some dummy options.
I added the following code to the component:
export class SelectizeComponent implements OnInit {

 config: any = {
   plugins: ['dropdown_direction', 'remove_button'],
   dropdownDirection: 'down',
   labelField: 'DisplayName',
   valueField: 'Name',
   searchField: ['Name'],
   maxItems: 10
 };

 options: any = [{Name:"option1", DisplayName:"Option 1"}];

 constructor() { }

 ngOnInit() {
 }
}
And changed the template to:
<ng-selectize [config]="config" [options]="options"></ng-selectize>
And this was the result:

As you can see, some result but not completely visible.
I am not a css expert, but after trying some stuff I settled on changing the template to:
<div class="form-group">
 <ng-selectize [config]="config" [options]="options"></ng-selectize>
</div>
And adding the following line to the style sheet for the component:
.form-group { height: 200px; }
Now the result looked like this:
So, now I know how to add options and to configure the selectize component to do what I want. But how can I set and get the value of the selectize component?
If you look at the other components used in the SDK, you can see that they get their input using a property attribute. The markup for the autocomplete control looks like this for example:
<sc-bizfx-autocomplete [property]="property"></sc-bizfx-autocomplete>
If you have a look at the code for the auto-complete component you will see this:
export class ScBizFxAutocompleteComponent extends ScBizFxBaseService implements OnInit, OnDestroy {
   /**
   * Defines the property to render
   */
   @Input() property: ScBizFxProperty;
The property attribute is connected to the property variable specified in the class. @Input() indicates this variable should gets its value from the property specified in the markup.
The ScBizFxProperty type is directly tied to the property we supply from the commerce engine when we create the entity view, so it gets all the information including the value and the UIType.
So I add the following line to my class:
@Input() property: ScBizFxProperty;
That gave me the following errors when Angular tried to compile my code:
ERROR in C:/workspace/bizfx-extension/src/bizfx/src/app/selectize-2/selectize-2.component.ts (11,4): Cannot find name 'Input'.
ERROR in C:/workspace/bizfx-extension/src/bizfx/src/app/selectize-2/selectize-2.component.ts (11,22): Cannot find name 'ScBizFxProperty'.
ERROR in C:/workspace/bizfx-extension/src/bizfx/src/app/selectize-2/selectize-2.component.ts (11,4): Cannot find name 'Input'.
ERROR in C:/workspace/bizfx-extension/src/bizfx/src/app/selectize-2/selectize-2.component.ts (11,22): Cannot find name 'ScBizFxProperty'.
So, not good. I get the feeling I need to import some stuff. And sure enough after adding the following lines everything worked compiled again:
import { Component, OnInit, Input } from '@angular/core';
import { ScBizFxProperty } from '@sitecore/bizfx';
Next question: How do I get the input from the selectize component into my component. This took some experimentation as I was not sure how this should work. After some trial and a lot of error I found that if I changed my markup to look like this:
<ng-selectize [config]="config" [options]="options" [(ngModel)]='items'></ng-selectize>
And adding the following property to my class:
export class SelectizeComponent implements OnInit {
 items = [];
 @Input() property: ScBizFxProperty;
the values the user entered in the selectize component were put in the items array.
So, now I have a way to get the value into my component and away from the Selectize component. Now I need to tie it all together.
I first started to see if I could get the value out of the component. I looked again for inspiration in the SDK and found that the tags component that comes with the SDK uses something called a FormGroup to send the value back:
@Input() actionForm: FormGroup;
And it used the following code to convert the array to a string (because we cannot send back an array to the commerce engine):
``javascript
onInputBlurred(): void {
const current = [];
this.items.forEach(item => {
current.push(item.value);
});
this.actionForm.controls[this.property.Name].setValue(JSON.stringify(current));
}
So I made some changes.

First I added the actionForm input to my class:

```javascript
    @Input() actionForm: FormGroup;
FormGroup is a type you need to import so I added:
import { FormGroup } from '@angular/forms';
Then I changed the switch case for my component to this:
<div *ngSwitchCase="'Selectize'">
       <app-selectize [property]="property" [actionForm]="actionForm"></app-selectize>
     </div>
And finally I added code to turn the items array I get from the selectize component to a JSON string that the Business Tools and the commerce engine code can work with:
onInputBlurred(): void {   this.actionForm.controls[this.property.Name].setValue(JSON.stringify(this.items));
 }
So, now I can retrieve the input of the Selectize component and send it back to the Business Tools and Commerce Engine. What I still need to do is set the initial value of the Selectize component. To do that, I changed the code of my ngOnInit method to look like this:
 ngOnInit() {
   this.items = JSON.parse(this.property.Value);
 }
This takes the value property which is a stringified piece of JSON we get from the Commerce Engine and parses it back to normal JSON and sets the items array to this value.
Adding a list of options
Now we know how to edit things, but how do we add a list of options for the user to select?
One way of course would be just to hard code that list in the component. That would maybe be an option, but not a very good one. The best way to do this of course would be to have the commerce engine add a policy to the property.
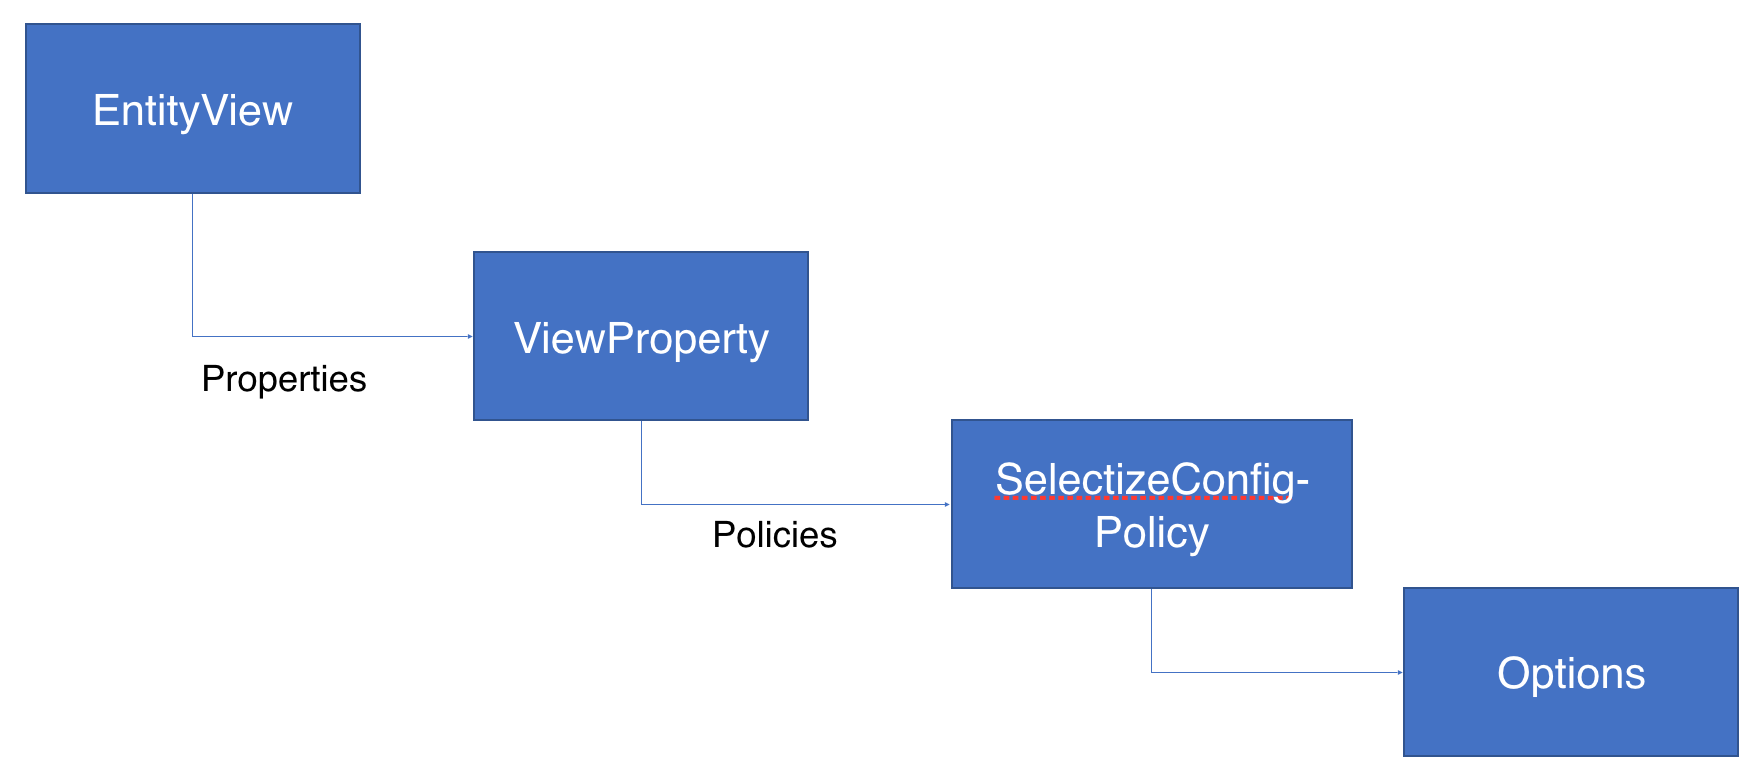
I created a policy called SelectizeConfigPolicy and this policy can be used to configure the Selectize component. It is added by the commerce engine when creating the entity view.
For maximum flexibility it gets the available options from Sitecore XP, which makes it easier for users to add new options.
To retrieve these options, you have to create a pipeline with some blocks to retrieve the values.

It starts by trying to retrieve the options from the cache. If it cannot find it in the cache, the next block will retrieve it from Sitecore and the last block will put it in the cache for the next time.
This pipeline is used to retrieve the options and add them to the policy and the policy is added to the ViewProperty, which is sent to the Business Tools.
In my SelectizeComponent I need to take the policy from the property and use it to configure my component.
This code will do just that:
var availableSelectionsPolicy : any;

   availableSelectionsPolicy = this.property.Policies
           .find(p => p['@odata.type'] === '#Plugin.Sample.Notes.Policies.SelectizeConfigPolicy');
   if(availableSelectionsPolicy)
   {
     this.options = availableSelectionsPolicy.Options;
     this.placeholder = availableSelectionsPolicy.Placeholder;
   }
What can you do with all this knowledge?
- Well, the next time your customer asks you to create a management interface to update the status of an order, use your knowledge to add the specific actions your customer might need to the existing order interface.
- Your customer might want to be able to send a custom e-mail about an order and needs some way to trigger it.
- These are all things you can easily do by extending the Business Tools.
You can find the code for everything discussed in these articles on GitHub: https://github.com/ewerkman/bizfx-extension